Blogs
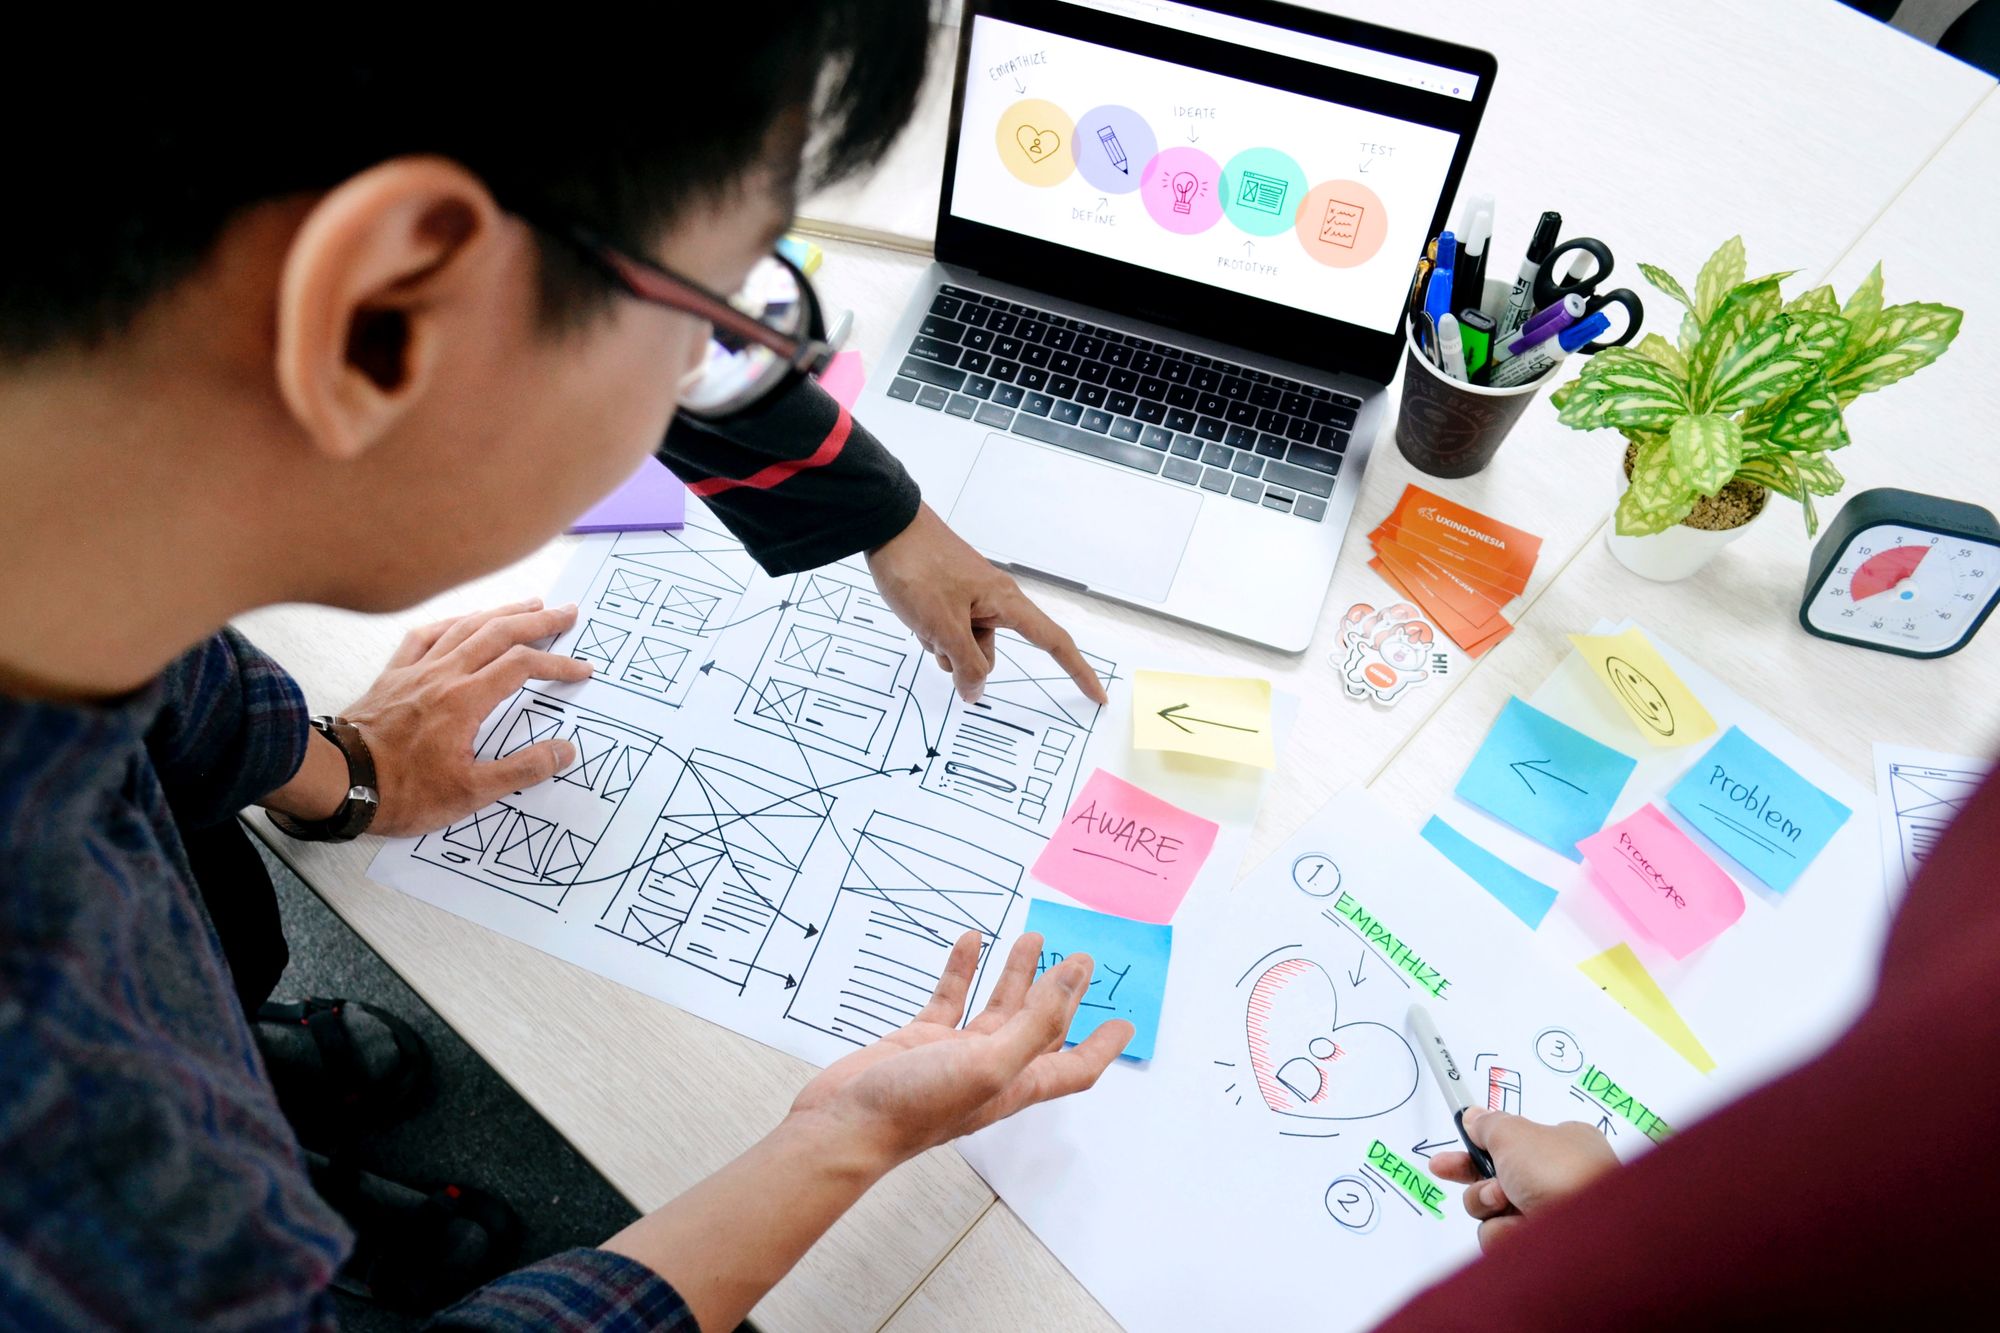
An outline of the UI/UX Design Process, from Ideation to Implementation.
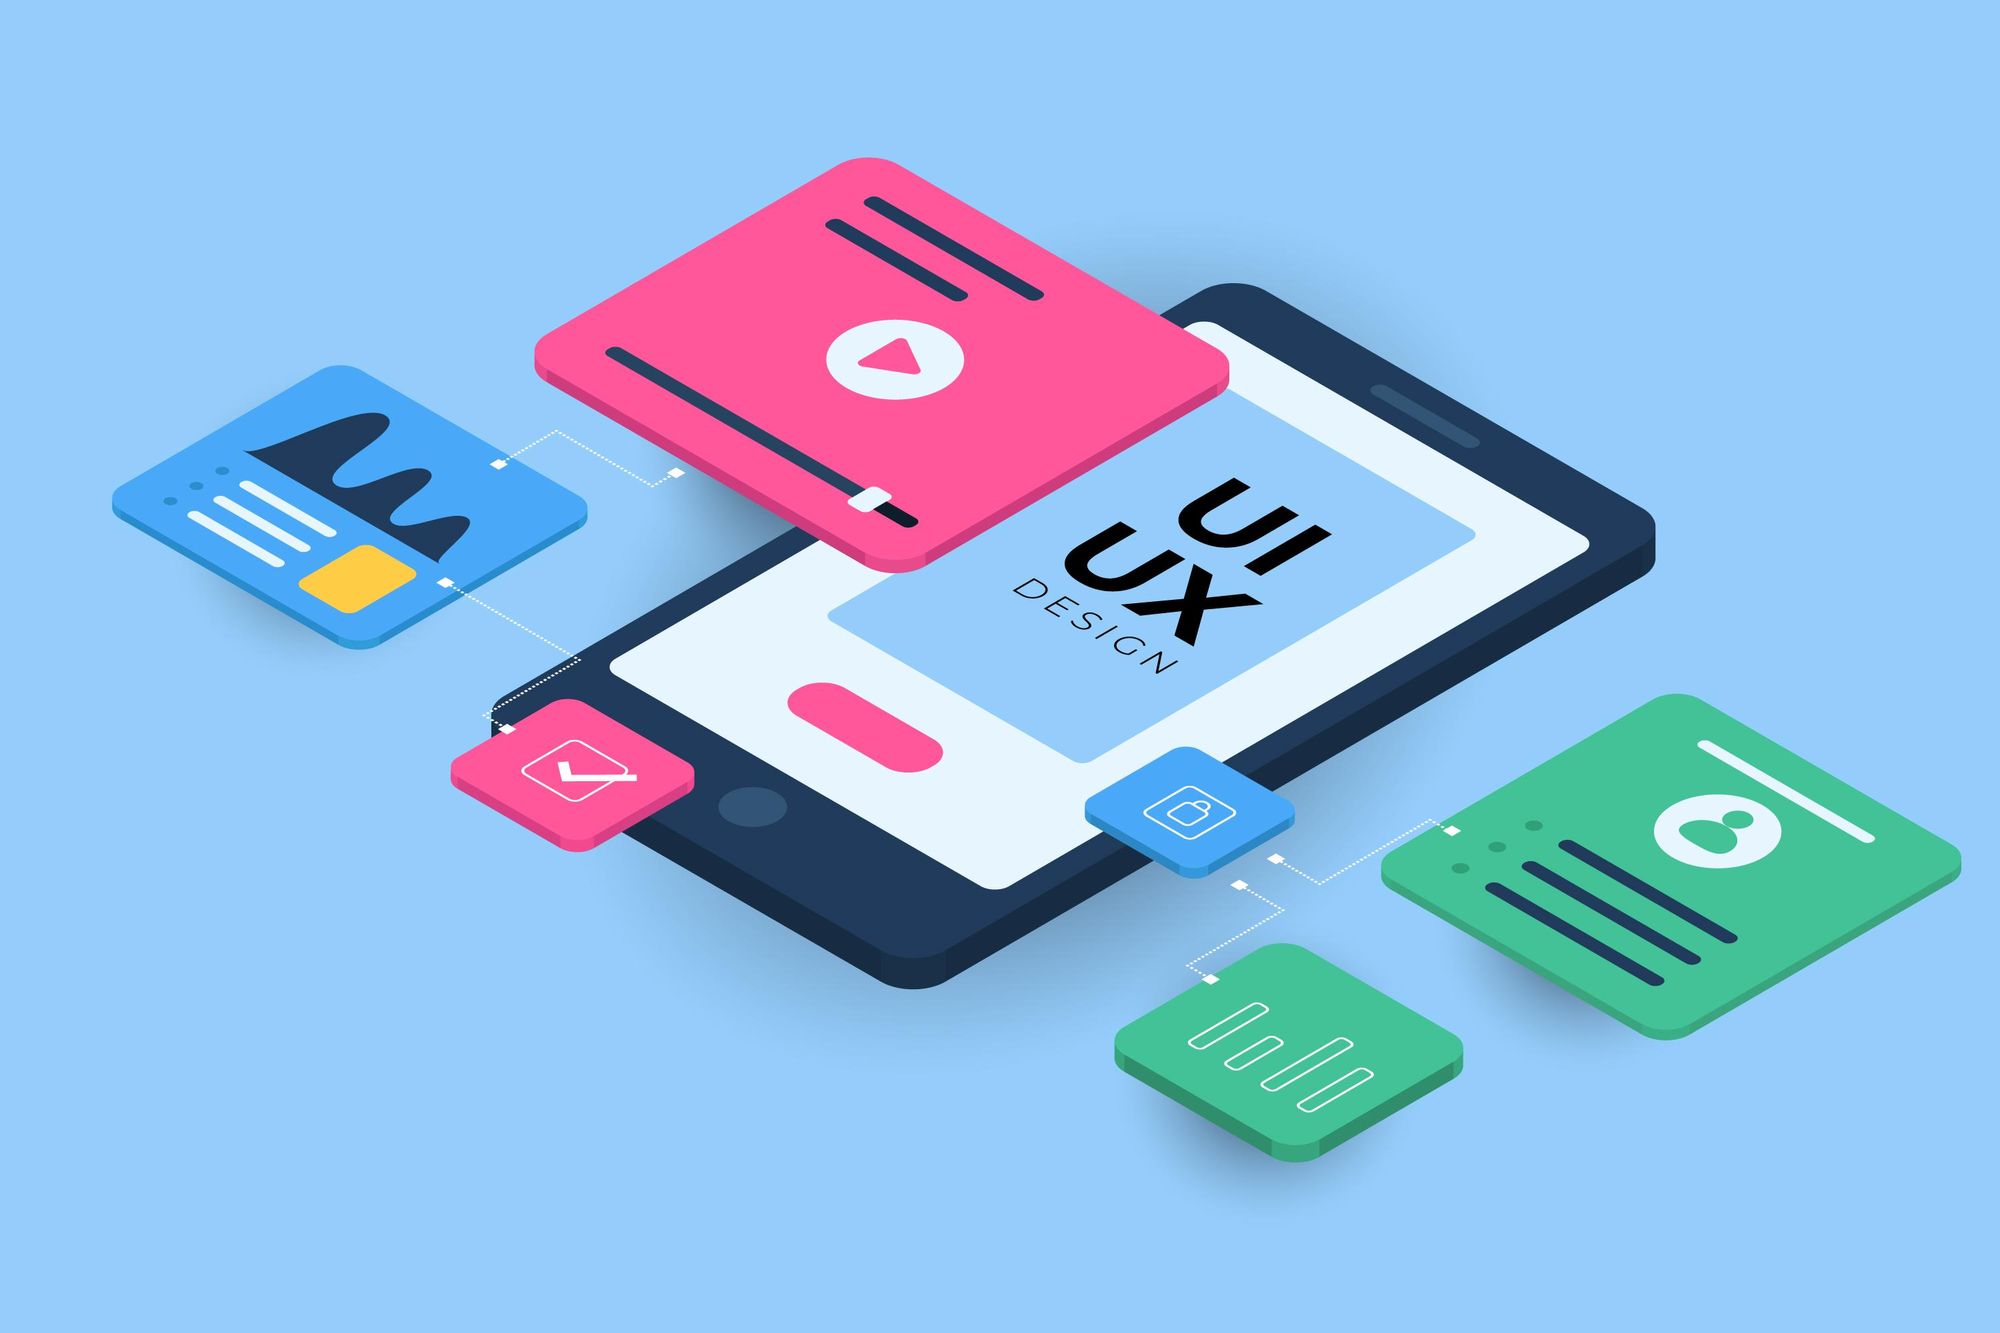
Let's first discuss the definition of the phrase UI/UX before moving on to the process.
UI: User interface is shorthand for it. It is the visually appealing part of a program, piece of software, or gadget that users interact with. Layouts and interactive components are created by UI designers to be intuitive, inclusive, and accessible.
UX: User Experience is referred to as UX. It includes every facet of how the user interacts with the program, application, business, its products, services, website, and more.
How are they different from each other?
Imagine dining in a restaurant that offers a terrific atmosphere, comfortable seating, stunning interiors, delicious food, a varied menu, etc. These are the components included in the user interface. When a UI design has the necessary and aesthetically pleasing aspects, we refer to it as good UI design, and the designer who creates it is a UI designer. The goal of UI designers is to produce user interfaces that are enjoyable and simple to use. Graphical user interfaces and other types, such as voice-controlled interfaces, are referred to as "UI design."
On the other hand, the restaurant workers were kind, the food was delicious, and quick service is a crucial component of a fantastic UX experience. The title of this designer is UX designer. In UI design, you, the designer, create a crucial component of the user experience. The complete user experience is covered by UX design.
Although UI and UX are two distinct concepts, they function together when a project is being developed.
Steps involving UI/UX process
If successfully implemented, a UI/UX process creates the finest potential user interface for your company, and if not, you risk having to continually redo everything.
Below are the steps that take place when a designer begins a project:
- Define the requirement stage
- Research stage
- Designing stage
- Go live stage
- Define the requirement stage
We must understand the goal of the website before we begin designing. To fully grasp a few questions, our end of the research must be done in close conjunction with the client:
- Who are the end users of the website?
- What is the aim of the website?
- What is the website offering to the end user?
- Is the competition cutthroat?
- Any suggestions to stand out from the competition?
2. Research Stage
Once your client's requirements have been established and the previously mentioned questions have been addressed, the research stage will follow. The designer undertakes a variety of research at this stage, including market and user research. To better understand clients, user research looks at the target market, whereas market research analyses the market to identify market segments and product differentiation.
The research stage further involves few stages once the designer gets the basic information that he needs:
- Inspiration
A UI designer should be innovative and relevant. It is impossible to create trendy work without drawing influence from others. Here, the designer's primary challenge is to create something that is trendy but still appears to be authentic. Depending on the goal and nature of the client's work, the designer develops a list of relevant websites for inspiration at this stage before creating a brand-new one.

- Idea Formation
Following the research phase, the designer is equipped with all the essential knowledge, such as the purpose of the website, competition research and analysis, top market trends, and necessary inspirations. After numerous discussions and brainstorming sessions, we are now at the point where we are prepared to construct an idea that needs a common platform. The finest tool for generating ideas with your project's participants is Fiama

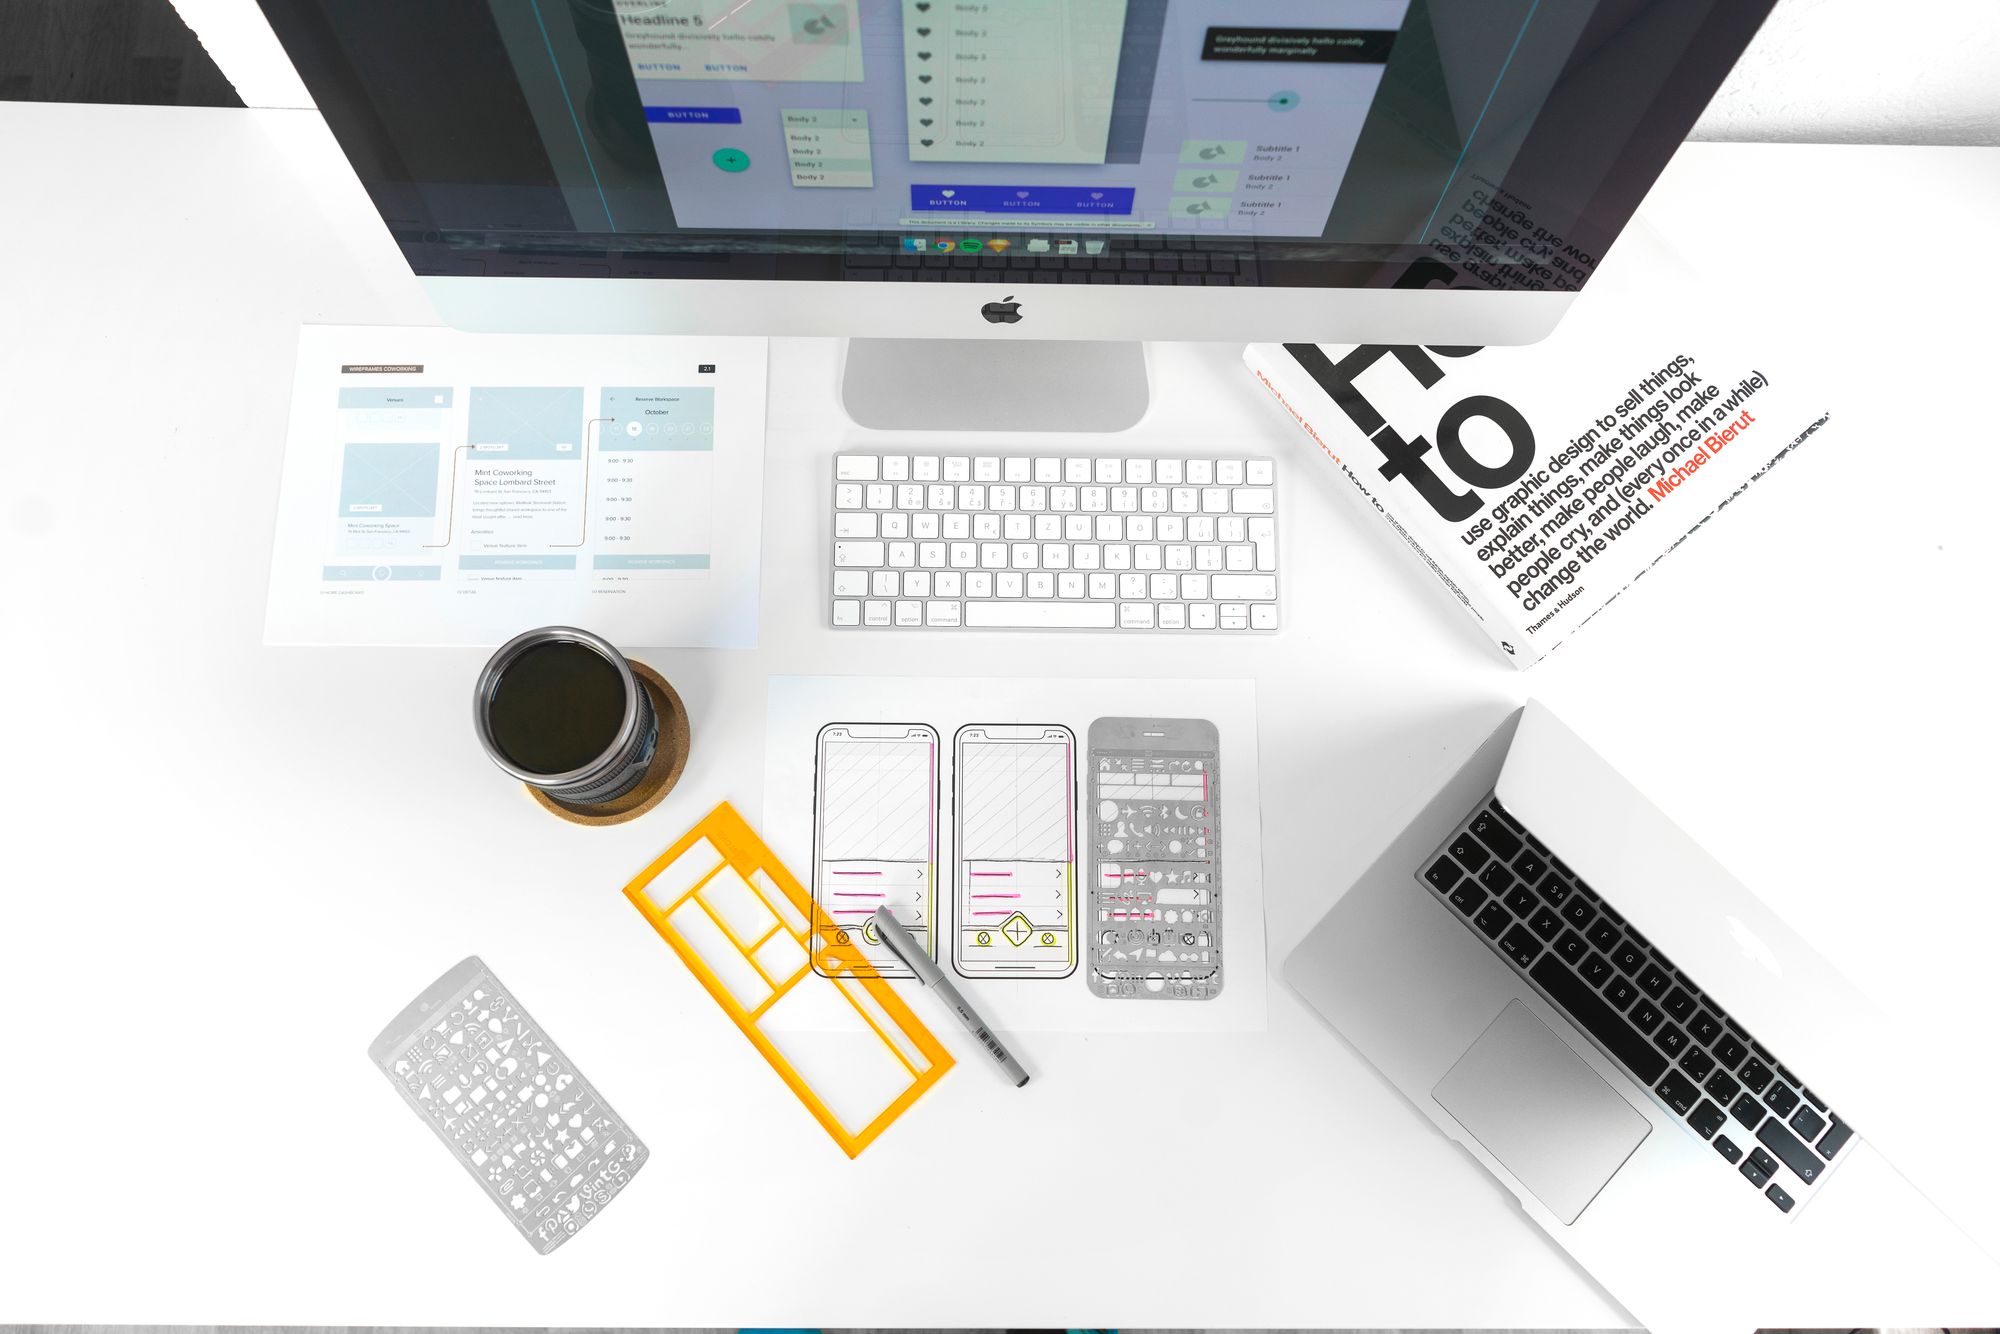
3. Designing Stage
The methods and resources needed to develop and design a website are covered in this phase. It's time to put the concepts into practice after the designer has finished his research and compiled all of his ideas onto one platform. The steps involved in the designing stage are listed below:
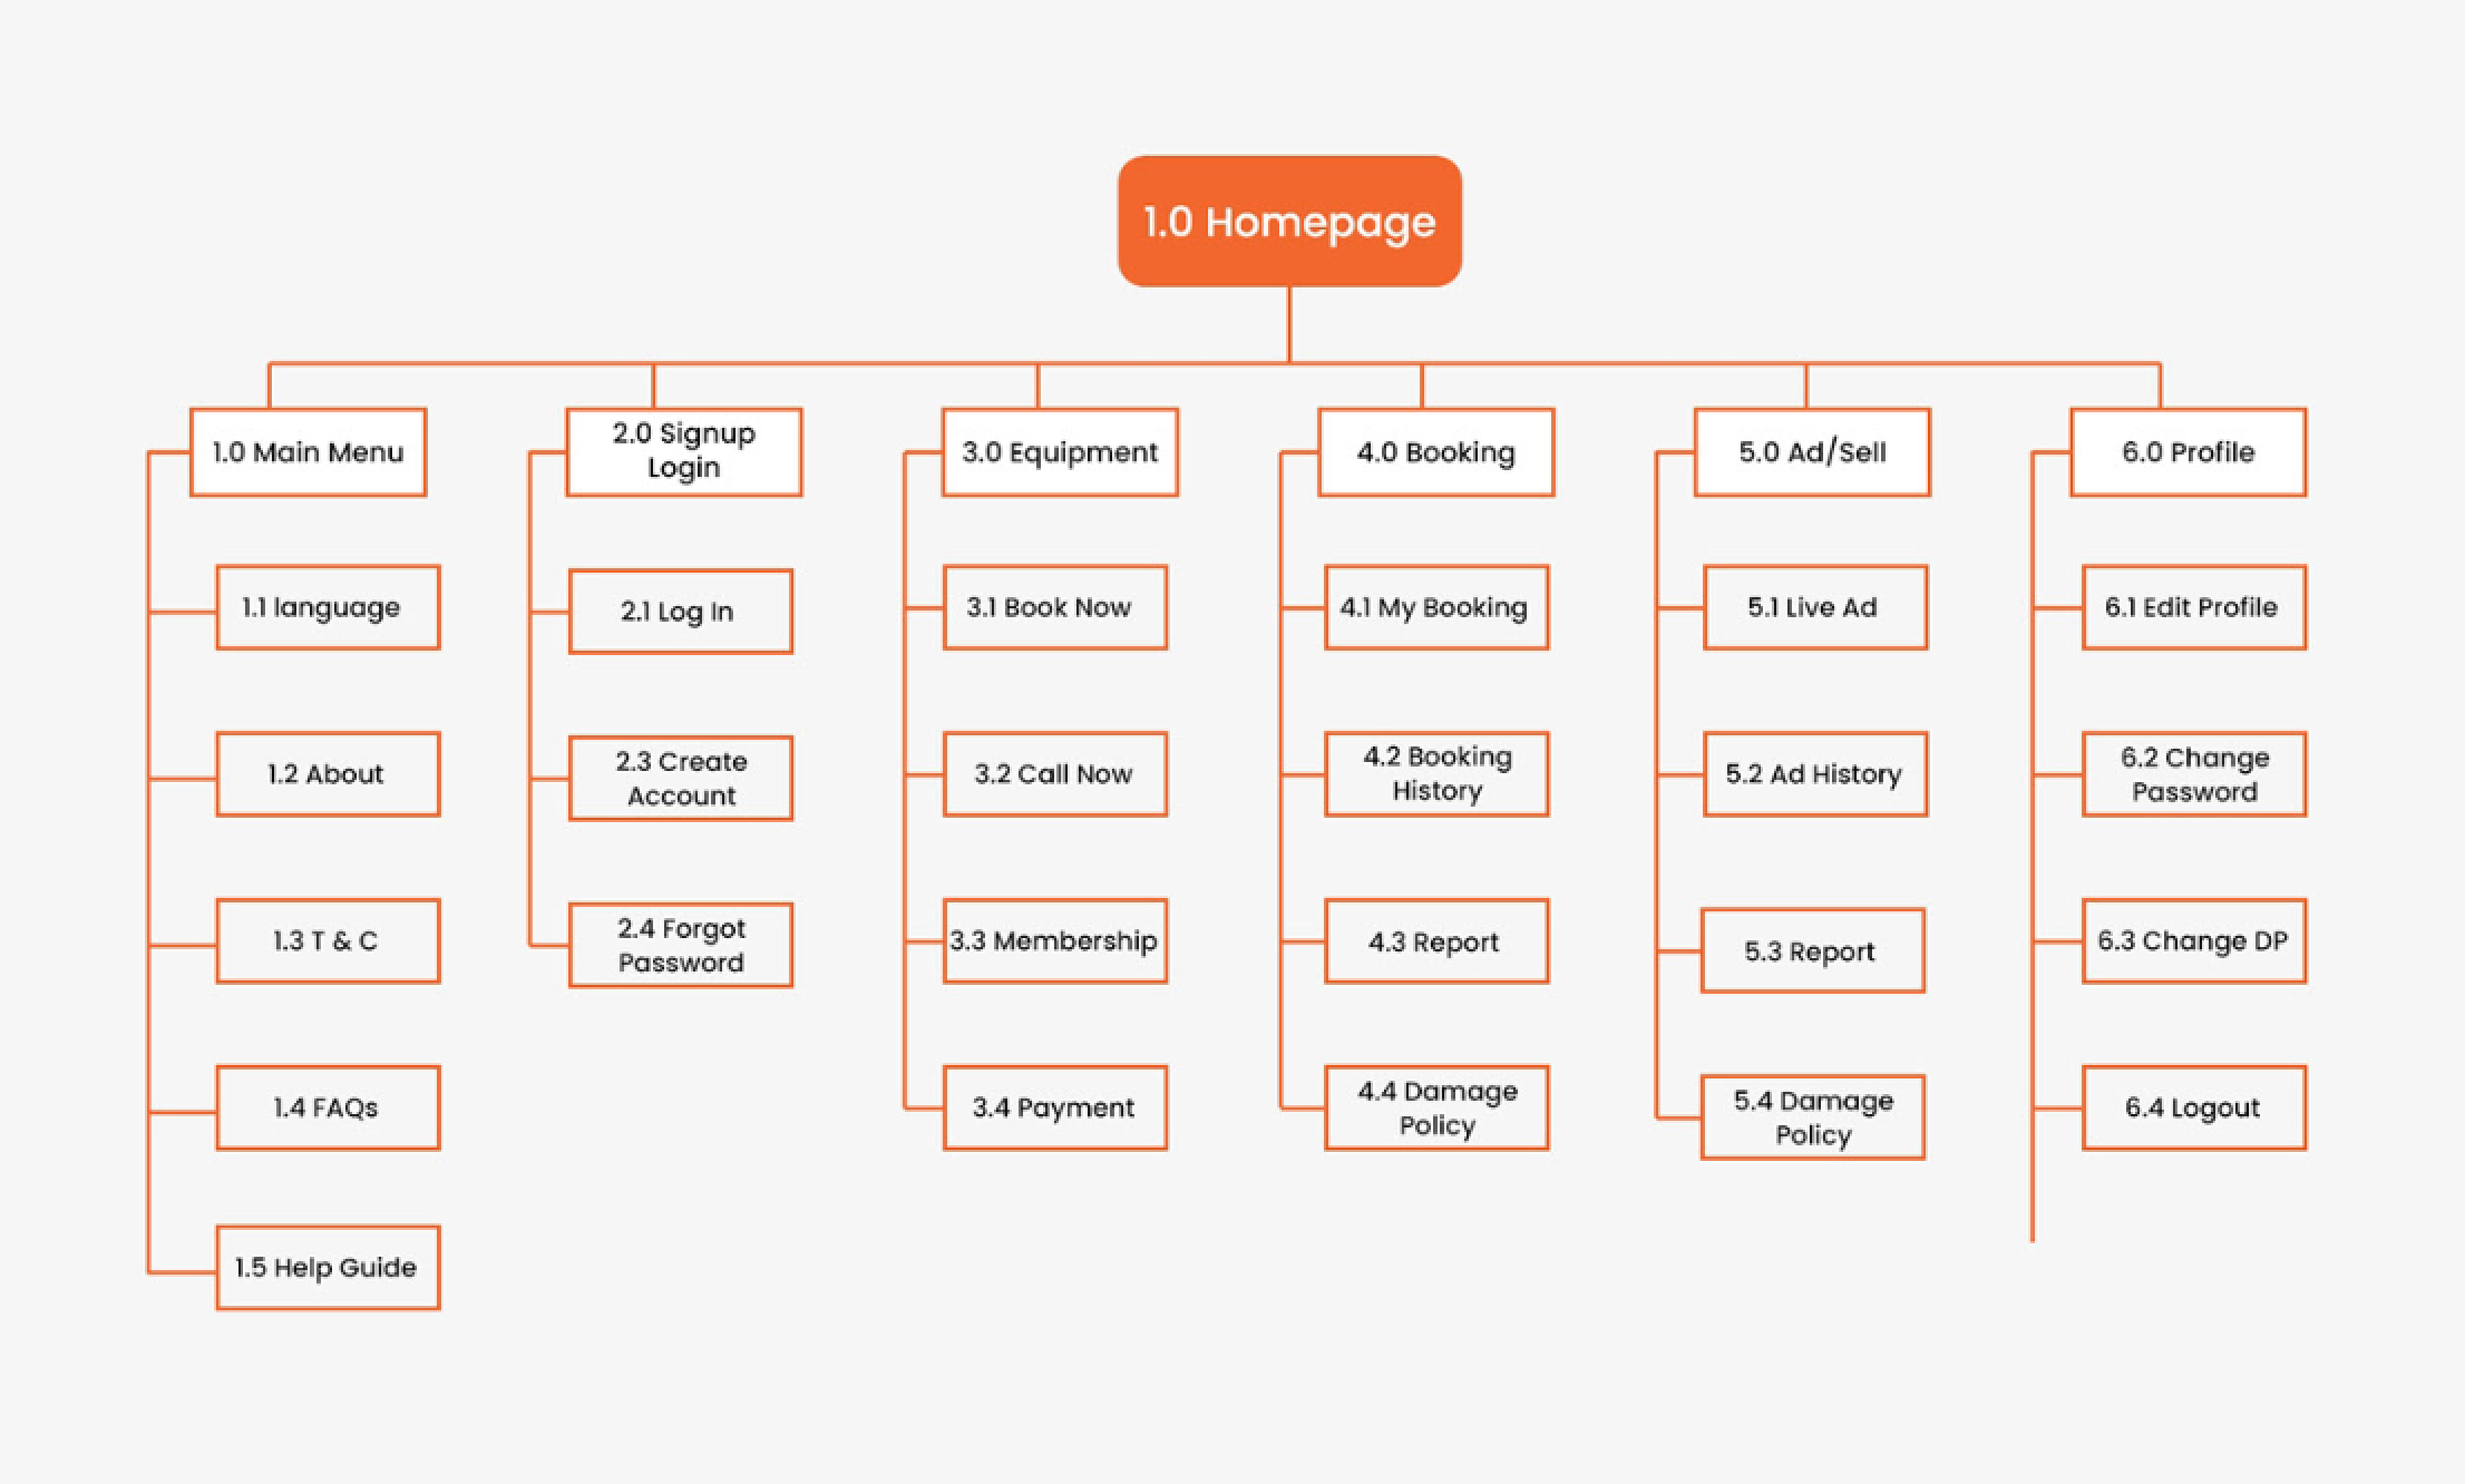
- Sitemap
As the name implies, we illustrate the website's structure in this step. It provides a picture of what the website will be like.
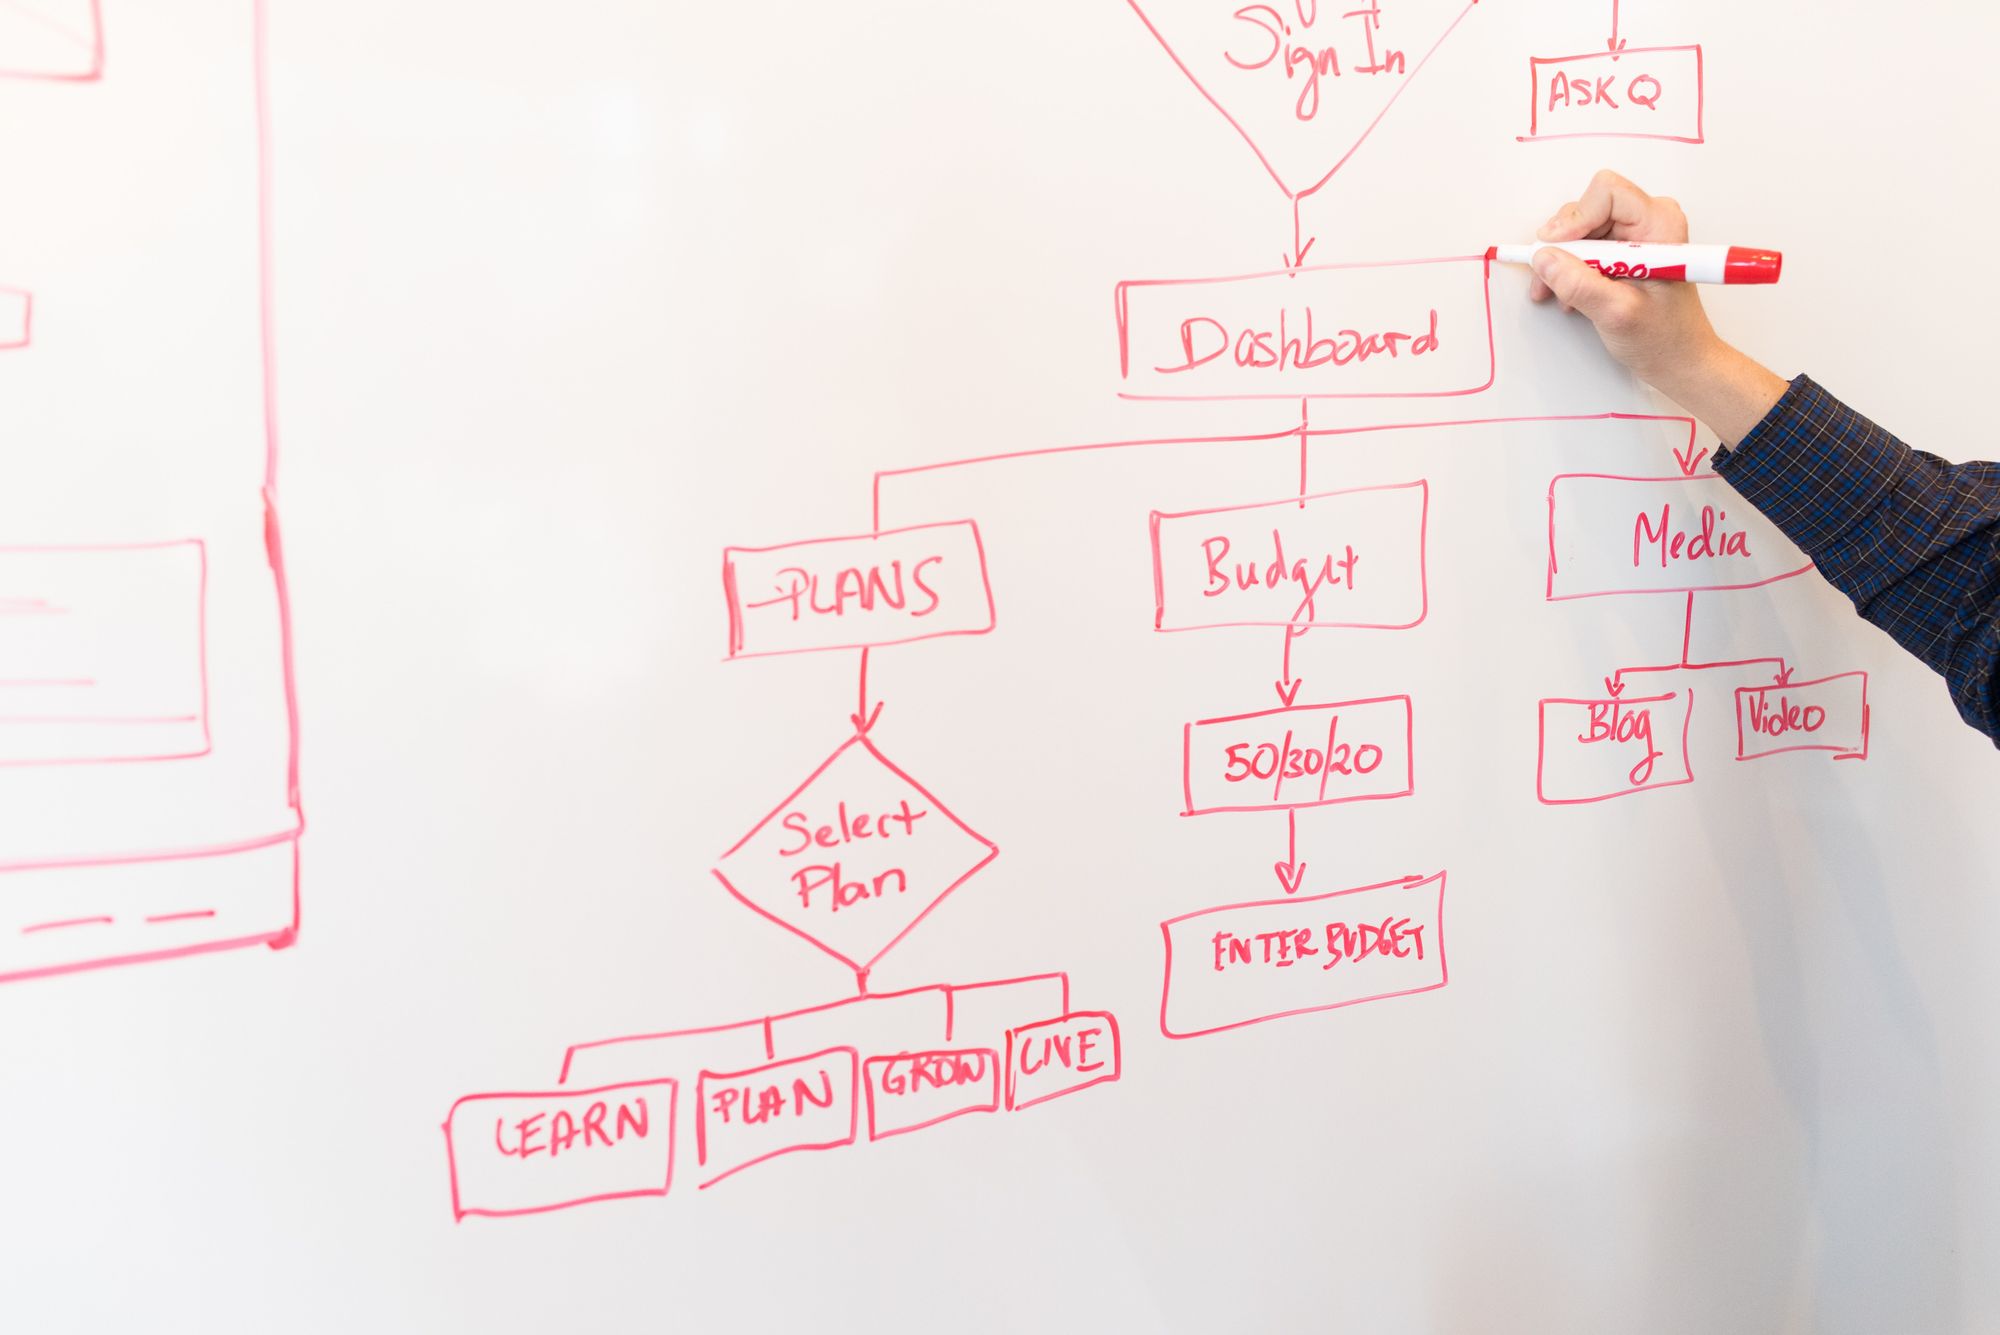
- User-Flow
Once the sitemap has been constructed, a path from START to END must be displayed. User flow diagrams are useful for achieving this.
As it specifies the journey of the key user, the path in a user flow should be presented from the perspective of the end user. How straightforward and devoid of complexity the user flow is affects the user's decision-making. Understanding the consumer is essential for creating the greatest user flow possible since it determines how the user interacts with the product you are selling.
- Wireframe
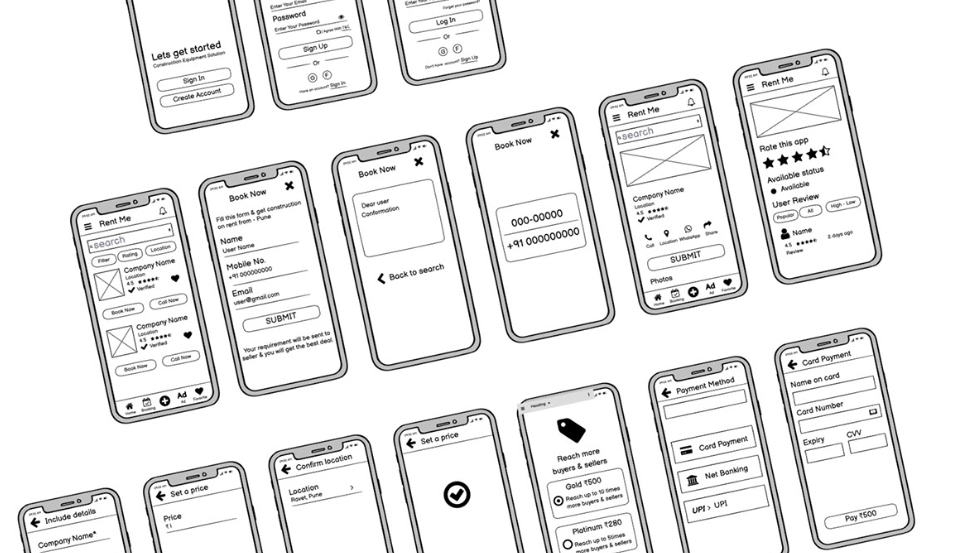
Once a user flow is built, the following step is to translate our concepts into a website foundation utilizing wireframe. A wireframe is a diagram or series of diagrams that show the basic structure and functionality of the user interface of a website or an application using only basic lines and shapes.
Additionally, there are three different techniques to do wire framing.:
- "Low-fidelity wireframes" are utilized when outlining your ideas in a drawing and presenting them to a group of people.
- “Mid-fidelity wireframes”: The elements being described here are more relatable and believable.
- “High-fidelity wireframes”: The elements are laid out in pixel detail here. The genuine photos and pertinent text are the parts and components used here.
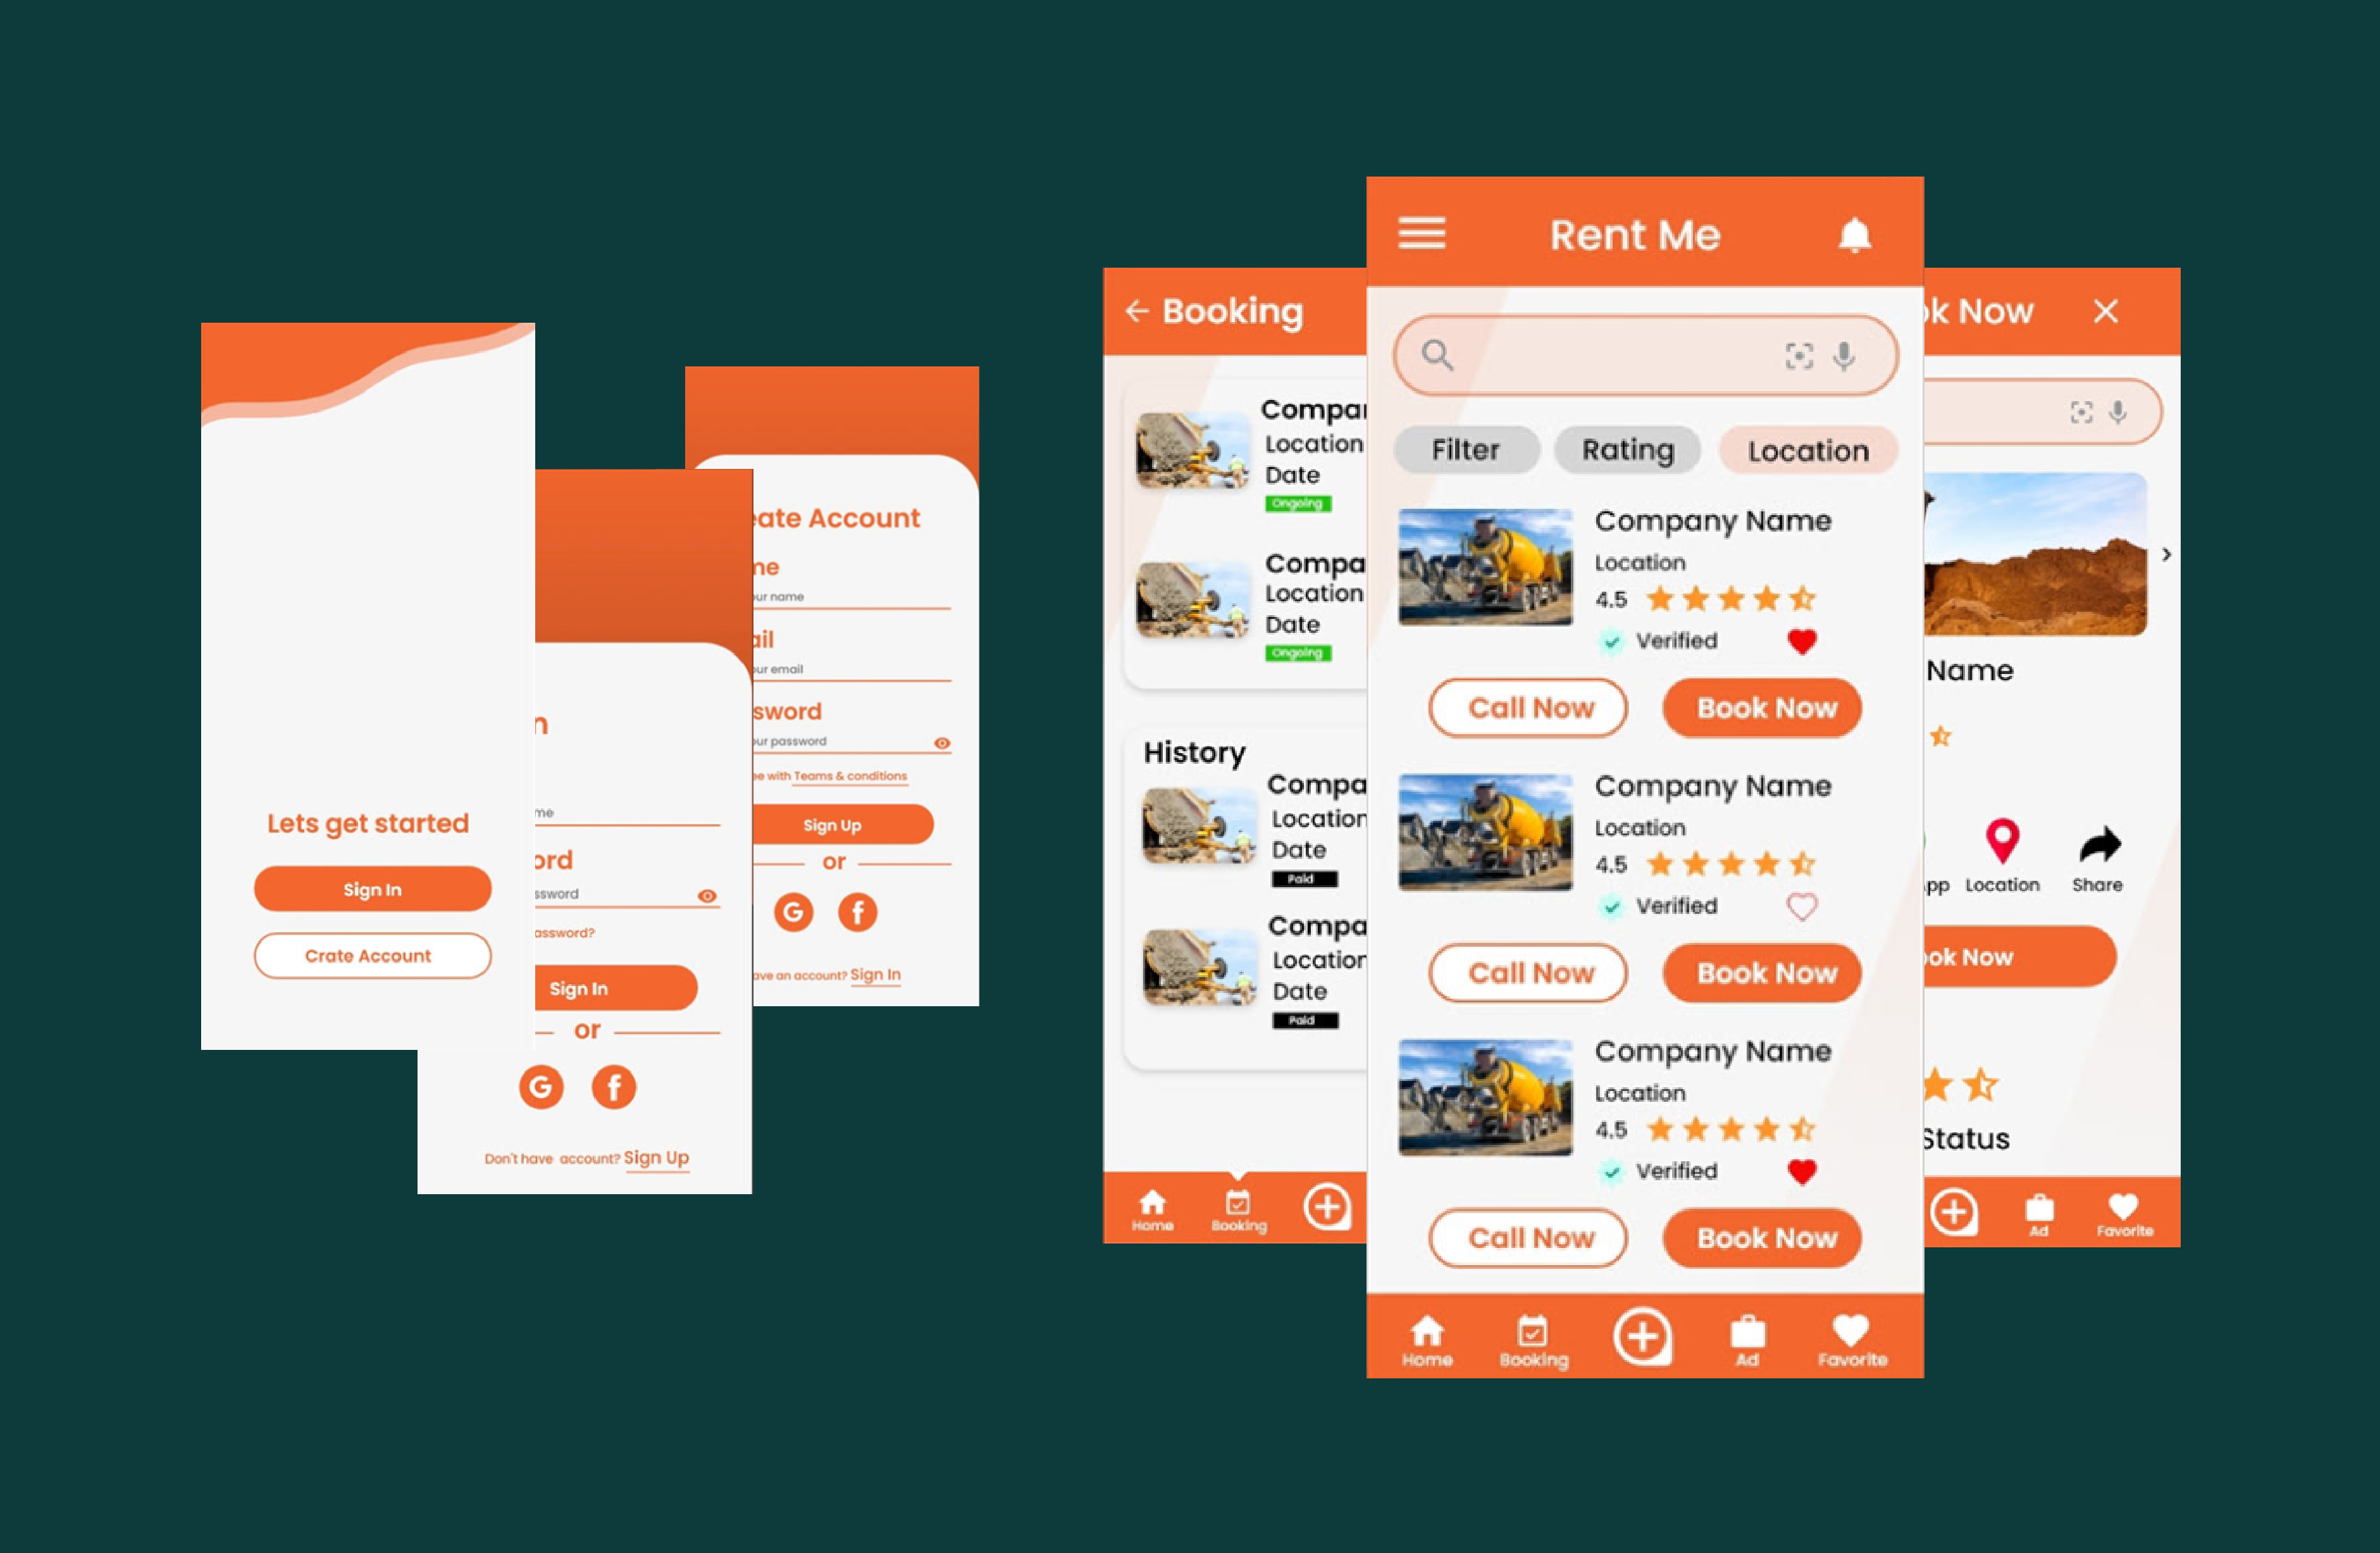
- Mockup
Making mockups is the next step in the website design process after wireframing is complete. The detailed website design is further developed from the high-fidelity sketches. For the final approval, sketches are updated with text, styling, and branding. The website design is now complete.
- Prototype
In this instance, the prototype is transformed into a live presentation of how the website will operate. This will just involve a working prototype of the website's code, not the final version. Prototypes are used by designers during user testing to gather insightful feedback on the usability of the website.
- User Test
Once the prototype is complete, it is used by numerous relevant organizations to solicit input. Here, we run user stories and usability testing.

- Design System
Our designer will start working on the visual design language as soon as we have a finalized wireframe, mockups, and prototype in place. There are four basic categories that make up a visual design language, and you should take into account the function that each of these design elements serves in each component on the screen.
- Color
A design system that complements your brand concept typically uses 2 to 3 colors. Typically, there are two or three major colors mixed with two or three additional colors for the surrounding pieces.
- Typography
Most often, a design system uses 2 fonts. One will be for the text and the other for the title heading. Using too many fonts will confuse the user, so try to keep it as straightforward as you can.
- Sizing and Spacing
When seen on various screen sizes, there must be uniformity in the sizing and spacing.
4. Go Live Stage
It's now ready to go live. Although there are a few areas that will need correcting, you shouldn't worry because website construction is an ongoing process.